MyQ Smart Garage Hub Troubleshooting [Ways To Fix It]
Hey there! This post contains affiliate links to products. We may receive a commission for purchases made through these links. But it never influences our product selection process.
MyQ was introduced to remotely control your garage to make your life easier. But it can also be the reason for anxiety if it’s not working.
Do know ways for MyQ Smart Garage Hub troubleshooting?
If your door opener is unable to connect with the MyQ app, then try to disconnect it. Afterward, do the power cycle on your hub and then connect it again. If the LED lights aren’t functioning then you should replace them. Resetting the hub and restarting the router would also help.
These were merely a fraction of the issues’ fixes. To learn the causes of the issues as well, you must thoroughly read the article.
Read away!
You may also like: Wiz light not working with alexa (Causes & Solutions)
How Does MyQ Smart Garage Hub Work?
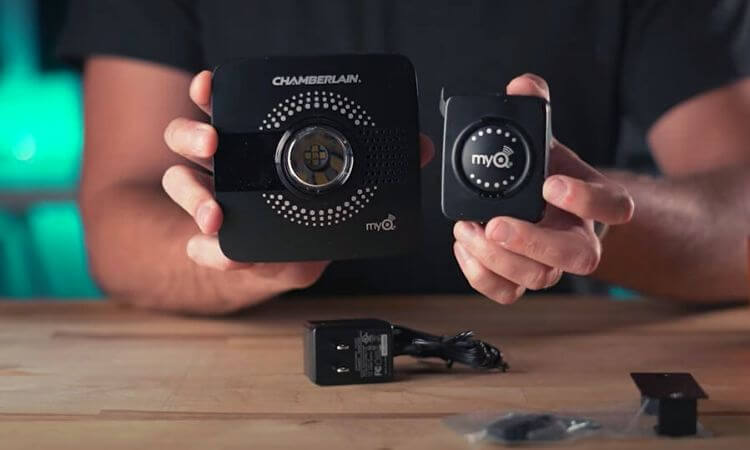
MyQ smart garage works like a remote control for your garage door. You have to pair it with your MyQ account. Then you’ll be able to access the hub remotely with your mobile using the app.
It would give you access to send wireless signals to the hub in your garage. You can use it to open or close it anytime you want.
Using MyQ smart garage with their Alexa, Homekit, or Genie would make those even more efficient. But now the question is, will they be able to work with it?
The answer is yes. All of them are compatible to use MyQ. For Alexa, you only have to use the app called “SimpleCommands”. Unlike smart life which doesn’t work on Alexa. For the rest, pairing them will be enough.
Why Is MyQ Smart Garage Not Working?
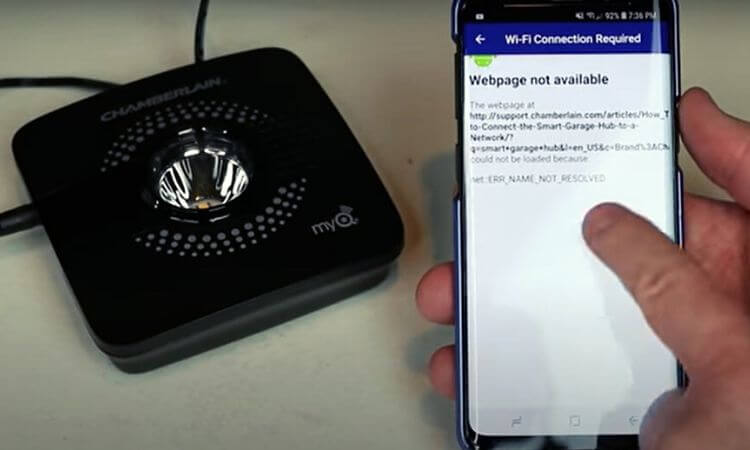
MyQ occasionally loses its ability to perform as it should. We should better understand the potential causes of MyQ’s malfunction before we begin troubleshooting. The causes are-
- MyQ server and the hub are not connected.
- The door sensor is operating in monitor mode.
- Unsynchronized hub and sensor.
- No Internet connection on the mobile device.
- The motor unit and the hub are too close.
These might cause MyQ to run into some issues. Troubleshooting can help to resolve these problems.
Troubleshooting MyQ Smart Garage Hub
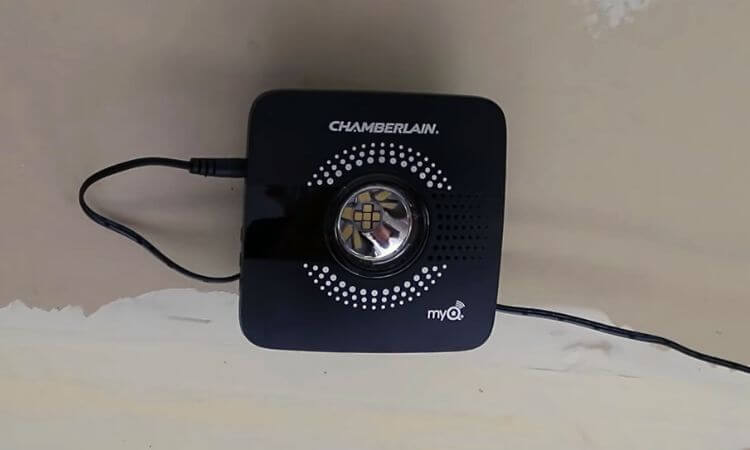
MyQ is a great addition to making life more convenient. But it also has some problems mentioned earlier that make it difficult to use. After reading the suggested solutions, you can take care of such issues on your own.
Problem 1: Unable To Connect The App To The Door Opener
First, you have to disconnect the app from your mobile if it’s already paired with MyQ. Afterward, locate the settings button on the hub to do the power cycle.
Solution:
While holding down the button, wait for the blue LED to begin blinking. After that, release the button. Again hold down the settings button while the blue LED is blinking. Hold it until a pause is followed by a blink or beep from the blue LED.
Reinstall the app and try to connect it to your mobile, the problem should be solved.
Problem 2: Unable To Connect To Wi-Fi
MyQ displays that it is offline primarily due to this. During this problem, the blue LED light would keep on blinking.
Solution:
First, you have to unplug the hub and wait 30 seconds until you plug it back. The password should then be entered manually with caution. It would decrease the chance of it getting incorrect.
Restarting the router and putting the mobile closer to the hub will help the process.
Problem 3: Led Lights Not Working
The most crucial component of the MyQ hub is LED lighting. Because it indicates the different status of the hub through them.
If the lights don’t blink or make a beep sound while touching, then something is wrong.
Solution:
The only option left for you is to replace the battery in your door sensor. CR2450 3V lithium batteries should be used to replace them. Not responding to hue lights can also be fixed by this.
These were among the most frequent issues, according to the customers, that they ran into while using.
How To Install MyQ Smart Garage Hub?
MyQ smart garage helps you to monitor and control your garage remotely to save time. But before that, you have to install it manually step by step.
Step 1: Installing MyQ App
Open the app store to search for “MyQ Garage & Access Control”. After downloading it, sign up by providing all the necessary information. After that, you’ll be able to login into your account.
Step 2: Adding Smart Garage Control
Close the garage door and then plug in the hub. After seeing the blinking blue light on the hab, tap next on the app.
The hub will be listed in the discovered device. After tapping the hub, you’ll receive a Bluetooth pairing request to pair it.
After that connect it to your home Wi-Fi network. After the green LED stops blinking, it means that you’re connected.
Step 3: Pairing Door Sensor
Remove the plastic tap for the battery and then tap the door sensor button. After the red light appears, tap the button again. Afterward, a bright light would flash in the middle of the hub following a beep.
Put the adhesive strips on the back of your door sensor after peeling off their film. Place and hold the sensor on the door for 30 seconds after that.
Step 4: Pairing Garage Door Opener
Select the brand of your garage door opener. Hold the learn button until the light turns on. After that, type a name for the opener and tap submit.
Step 5: Mounting The Hub
It should be placed 6 feet above the ground and 4 feet apart from metal objects. The metal plate should be placed where you would like to mount it. Use a drill machine to drill the wall and afterward mount the hub.
Now fully functional, the myQ smart garage will simplify your life.
Frequently Asked Questions (FAQs)
How Can I Reactivate My MyQ Garage Door?
Why Is My Garage Door Unable To Link To MyQ?
Can MyQ Support Two Phones At Once?
Is Chamberlain MyQ Hackable?
Conclusion
Hope now you know ways for MyQ Smart Garage Hub troubleshooting.
Installing it would allow you to live a simpler life and save a lot of time.
If you are facing any other difficulties than the ones mentioned above. We advise you to talk to the customer support of MyQ.
Take care!
![Mitsubishi WD-73640 Flashing Green Light [Reasons & Fixes]](https://upgradehomedevices.com/wp-content/uploads/2022/09/mitsubishi-wd-73640-flashing-green-light.webp)

![Why Is WiZ Light Not Working? [Explained And Solved!]](https://upgradehomedevices.com/wp-content/uploads/2022/09/wiz-light-stopped-working.webp)
One Comment